Karanji (Karchikai, Kajjikayalu, Goan Nevri) by DK on Sep 12, 2012


- Cook time:
- Prep time:
- Serves: 8+ people
- Yields: Makes around 25-30 Karanjis depending upon the size
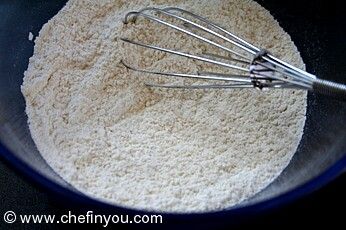
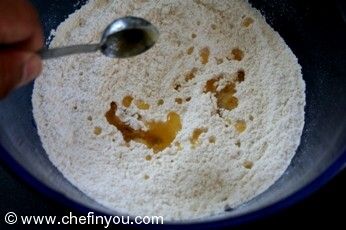
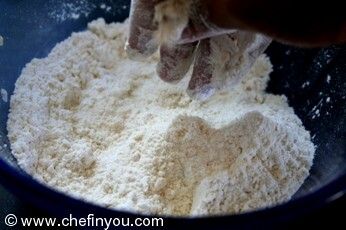
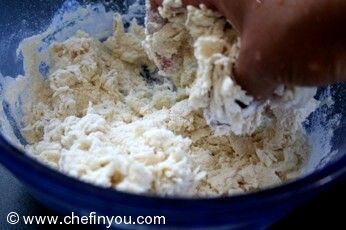
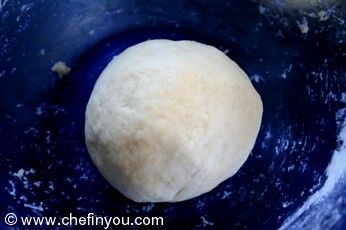
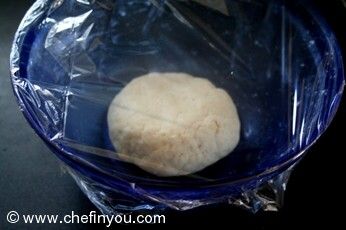
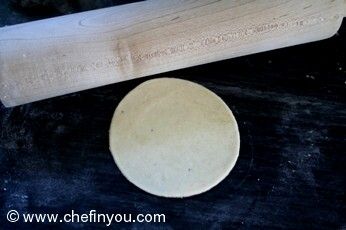
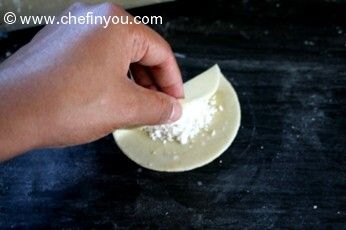
- For the Cover
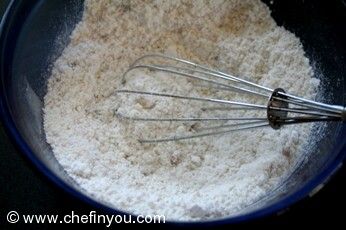
- 1 cup (abt 5 oz/150 grams) All purpose flour (Maida)
- 1/4 cup (abt 1.5 oz/40 grams) Semolina (Sooji)
- 1 tbsp melted Ghee, see Tips
- Pinch of Salt
- Warm milk to knead, as needed, see Tips
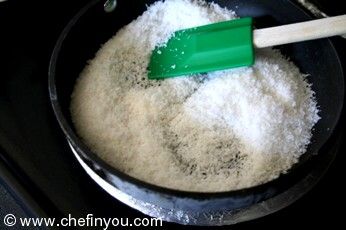
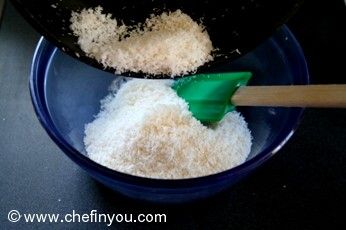
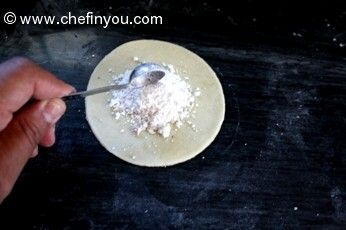
- For the Filling/Stuffing
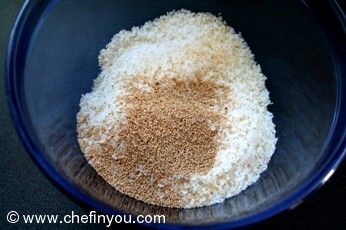
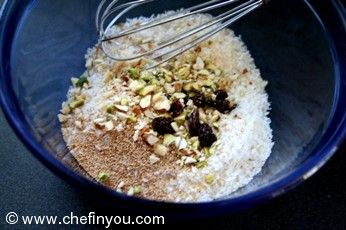
- 1 cup (abt 3 oz/80 grams) dry Coconut
- 1 cup (abt 3.8 oz/110 grams) powdered Sugar
- 1/4 tsp Cardamom powder
- 2 tsp Poppy Seeds, white colored
- 2 tbsp mixed nuts, finely chopped (and raisins), see Tips
2. Milk: You would need somewhere 1/3-1/2 cup of milk. I used 2% milk but you can use whole milk instead. If you are vegan, use water instead.
3. Mixed Nuts: I used a mixture of Pistachios, Almonds and Cashews. I added around 6-7 raisins


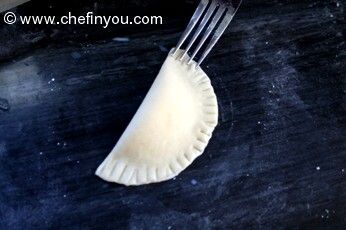
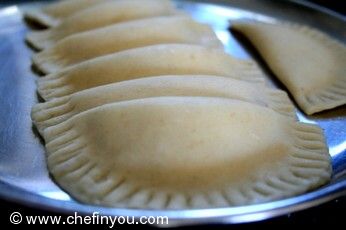

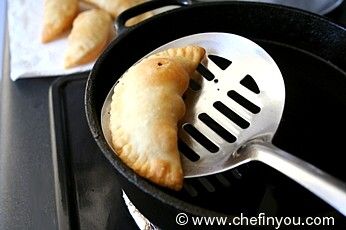
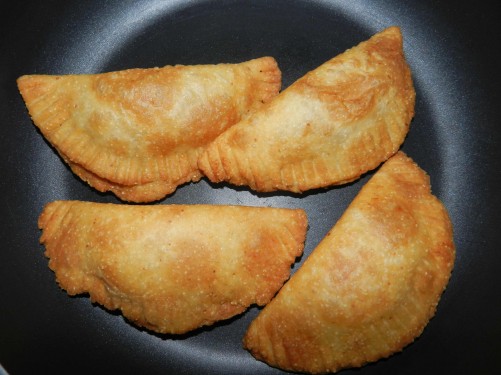
 The crispy outer layer with a sweet and chewy coconut layer inside is a perfect foil to all your diet plans - but hey! Its the festive season after all :) :) All's fair in food and festival - they go hand in hand.

Filed Under these categories
- 291 Dairy Free
- 227 Desserts/Sweets
- 29 Diwali Sweets
- 42 Indian Sweets
- 705 Kid Friendly
- 371 Parties
- 227 Picnic
- 192 Potluck
- 398 Pregnancy
- 499 Vegan Recipes
- 103 Vinayaka Chaturthi
Recipe Reference
mom's recipe diary
Related Posts

Channar/Rasgulla Payesh (Paneer Kheer) By DK on Nov 1, 2012

Suyyam (Susiyam) By DK on Nov 7, 2012

Easy Ghee Mysore Pak (Pressure Cooker Method) By DK on Sep 8, 2018

Italian Cannoli By DK on Nov 27, 2009
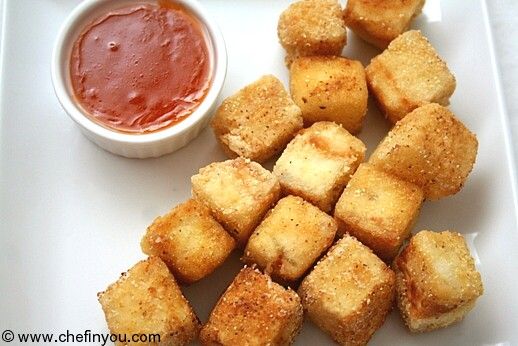
Crispy Fried Tofu with Sweet Chille Sauce By DK on Oct 6, 2011
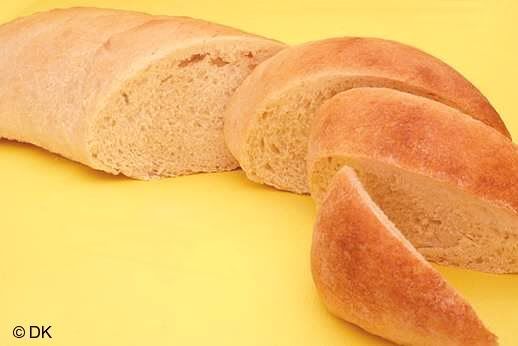
French Bread By DK on Jan 13, 2009
Leave a Reply
1 Member Reviews
By Praveen on Feb 10, 2013
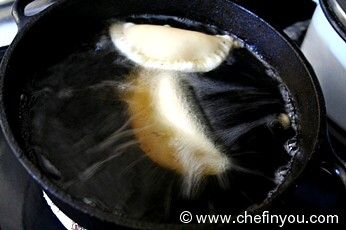
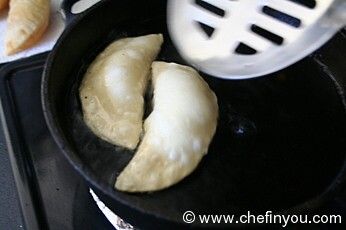
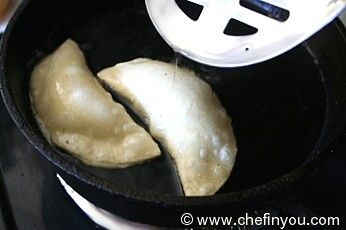
Hello All... We Tried this recipe and it came out so well. The Stuffing and the Cover were all too good. Just needed to ensure that the Oil was not too hot, else the cover would not be crispy. Realised that soon and made amends :) Thank U So much for the Recipe
28 Comments
By Priti on Apr 13, 2017
By viji on Nov 8, 2015
By S ARCOT on Oct 15, 2015
By Harshada on Apr 16, 2015
By Harshada on Apr 16, 2015
By jancy on Oct 19, 2014
I suspect its the temperature of your oil. Also did you make the cover very thick? If thick, it will be soft. If thin cover, it will be crispy. --DK
By vandana k. on Oct 18, 2014
By almas hashmi on Oct 18, 2014
By traditionallymodernfood on Aug 26, 2014
By lizy on Aug 26, 2014
By ramya on Aug 26, 2014
By latha on Feb 20, 2014
By archana das on Dec 11, 2013
By archana das on Dec 9, 2013
All foods are not alike. Some weigh more and some less. You are right - I do use the US measurement cup to measure my ingredients which is 1 cup = 250 mL. But if you weigh the ingredients with that cup different food will weigh differently. Which is why expert bakers generally use weight instead of cup measurements to make their creations --DK
By Kevin on Aug 22, 2017
I guess you can. Do apply a thin coat of ghee on top to avoid drying/hardening out. Would love to know how it turned out for you.:) --DK