OPOS Brinji Rice (South Indian Bay Leaf Biryani) by DK on Jul 21, 2017


- Cook time:
- Prep time:
- Serves: Makes enough for 3-4 people as a part of a multiple course meal
- Yields: Around 4 cups of Rice
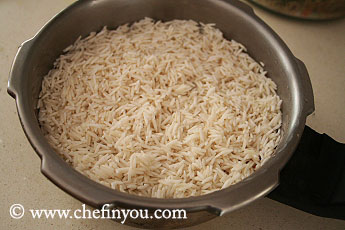
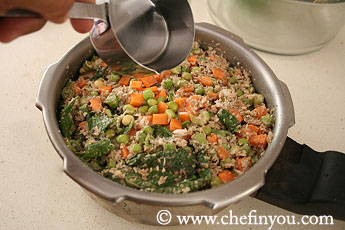
- 1 cup medium grained/long grained Rice
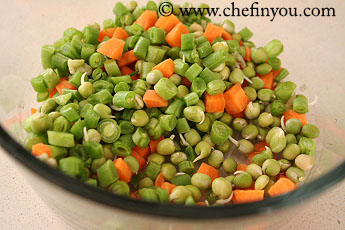
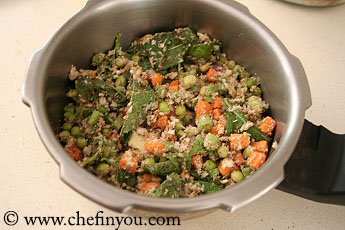
- 1-1/2 cups Mixed Vegetables, see Tips 1
- 1/2 cup Mint, or as needed
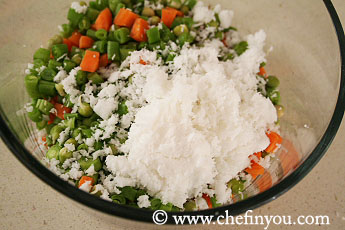
- 1/2 cups grated Coconut
- 1 tsp Chilli powder, or to taste
- 1 tsp Ginger-Garlic paste, see Tips 2
- 1 tsp Garam Masala
- 1 tsp Pepper powder
- 1/4 cup Coconut Milk
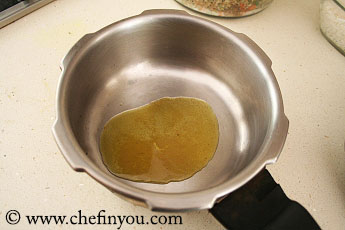
- 1 tbsp Ghee
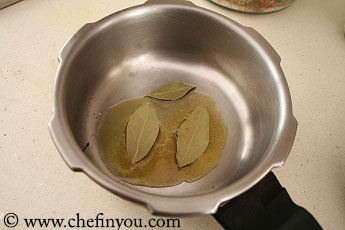
- 2-3 Bay Leaves
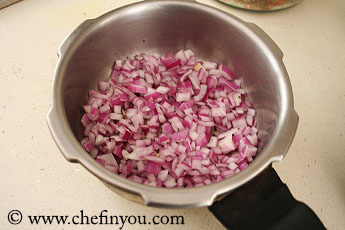
- 1 cup chopped Onion
- Salt to taste
2. Ginger Garlic Paste: I use a homemade precooked Ginger garlic paste that I make using my pressure cooker. Will post the recipe soon. If using your own/store bought, there is a possibility that it might taste raw. So use a little as a caution the first time around and take it from there. Although, I have to say that when I have used store bought ginger-garlic paste, I have not faced that issue personally.


Filed Under these categories
Ideal Accompaniments

10 min OPOS Vegetable Kurma (Hotel Saravana Bhavan Style) By DK on Mar 7, 2017

Cucumber Raita By DK on Apr 25, 2011

Mint Raita By DK on Jul 31, 2010

Tomato Raita By DK on Jun 13, 2012
Related Articles
Recipe Reference
Related Posts

Easy 8 min Ginger Garlic Paste ( OPOS® method) By DK on Nov 22, 2017

Slow Cooker Dal Makhani By DK on Nov 17, 2016

Easy Applesauce ( OPOS® method) By DK on Nov 30, 2017

Homemade Tamarind Paste (OPOS®) By DK on Nov 8, 2017

Moros Y Cristianos (Cuban Black Beans & Rice) By DK on Sep 14, 2018
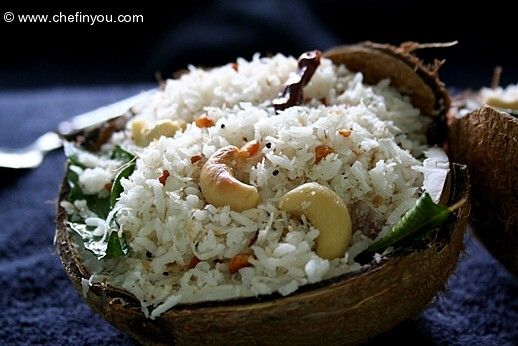
South Indian Coconut Rice By DK on Jan 31, 2010
Leave a Reply
4 Comments
By Darren on Jul 22, 2017
Wow! Thanks a bunch Darren. This is so helpful for all of us. Appreciate all the details :) --DK
By claudette lerma on Jul 21, 2017
Definitely Claudette. Instead of layering in the pressure cooker, you just need to add the ingredients one by one, saute them in a pan, add rice and 1-1/2- 2 cups water and cook like you would cook a regular pulao. If you need specific instructions please let me know. I will update the post with those details as well. Thank you :) --DK
By Linda on Jul 21, 2017
Linda, please refer to Darren's very well summarized answer for you. I am not an instant pot user myself and hence cannot contribute much to that thought process. I had asked a friend with one and the only thing she suggested was to use the same process but reduce the time since instapot cooks in even lesser time. So keep an eye from half way mark and work around the process. Who knows, your version might turn out even better with instapot! Hope this helps. --DK
By Foodzu on Sep 15, 2017