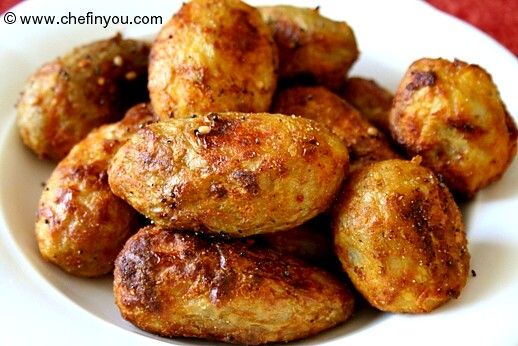
Seppankilangu Varuval (Colocasia/Taro Root Roast) by DK on May 19, 2012
")
Recreating my mom's taro roast/fry has taken its time. I still don't think I have it pat down. Have you felt frustrated to find something amiss with your mom's recipe when you make it, but can't place a finger on what's wrong? I face it almost always! One of my mom's special is Taro Root roast. Paired with Onion sambar, this combo always managed to wow a crowd, however finicky it might be. There is one downside to it (but of course!) - calories. Too much oil is added to create that delicious crust. So I tried my own low calorie version with Baked Taro Root Roast with satisfying results.
")
But on and off I do make the real thing. Yet, I feel horrendous about adding that generous load of oil. As they say "Ignorance is bliss!", which I at times agree. That's 'cos I find myself handicapped most of the time, to add ingredients randomly, knowing the effects it has on my body. No, its not the fat; I am not afraid of it. But its like eating food from a waiter known to spit on food. Would you eat it with that knowledge? Likewise, knowing that certain foods are not loved by our body ( though our palate craves it) has a way of putting a dampener in my cooking. So how I do stop myself being such a stuck up cook? Well I make these this way.
- Cook time:
- Prep time:
- Serves: 4 people
- Yields: Would serve around 3-4 people (might vary depending on how much you like this;))
Ingredients
- 850 grams (about 2 lbs) Taro Root (see Tips)
- 1 tbsp Chickpea flour/Besan
- 1 tbsp Rice flour
- 1/2 tsp Turmeric
- 1 tsp Red Chilli powder, or as per taste. I did not add any.
- 1/4 tsp Asafoetida
- 1 tsp salt, or to taste
Tips
1. Taro Root : If you are wondering about the quantity of 850 grams - well I thought I had a kilo which I certainly dint, hence it was a weird number of 850. But you can add however much you have and adjust the seasoning accordingly. Taro Root is also known as "Arbi", "Colocasia" and "Cheppankizhangu"
Method
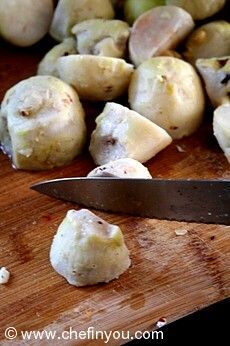
1.
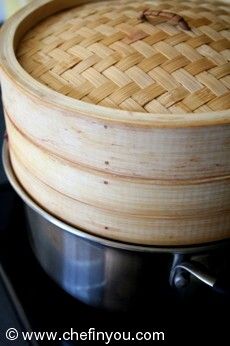
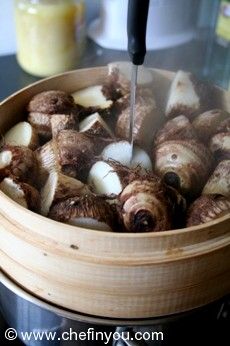
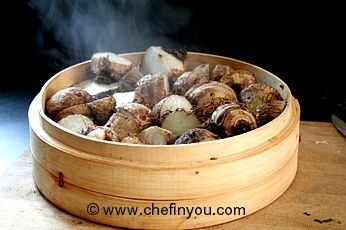
I halved Taro root (those that were big) and steamed them for about 10 minutes.

2.
You can also boil them. My mom always boiled them or cooked them along with the rice in her pressure cooker. I somehow always manage to make it mushy in a pressure cooker, hence keep away from it :)
3.
Make sure not to overcook them 'cos that hinders in making them crispy later on. You need don't even need to cook them completely. Just steam them enough to be able to peel the skin. Check with a fork or knife. If it goes through easily, its done.
4.
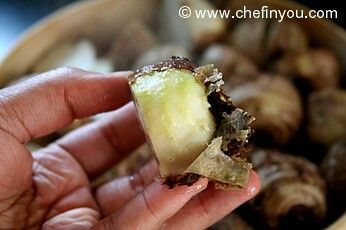
Set aside for few minutes when its easy enough to handle. I usually dip them for a second in cold water and peel them.
5.
For beginners, keep in mind that these will be HOT. So make sure not to scald your fingers. If not overcooked, you will find that the skin peels easily but does not bring the flesh along with it. Otherwise it would turn into a slimy mush in your hands!
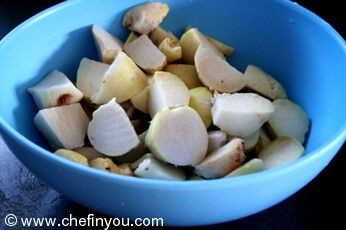
6.
Chop them into smaller pieces and keep them uniform. I do that cos, I personally find that it needs much less oil to cook/roast.
7.
Drop them into a large bowl
8.
Add the seasoning and flour to it.

9.
Toss with your fingers.
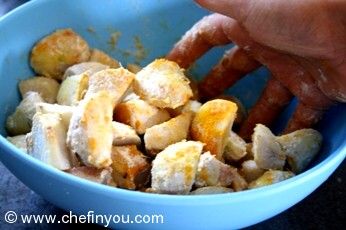
10.
The heat and the slight stickiness from the taro root will help to coat the seasoning. But you can also sprinkle little water to help the seasoning coat well on all the taro root. My mom keeps them aside for few minutes for the flavors to mingle. I usually don't do these (owing to laziness) but it still turns out delish.

11.
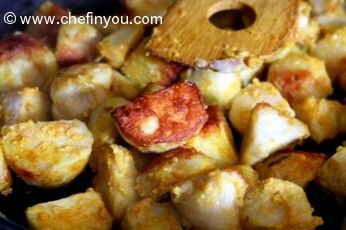
Take a non stick skillet and add 2 tbsp oil (or more if you like). If you are using cast iron skillet, you would need more oil. Heat the skillet and when hot (shimmering not smokey), add the taro root to the skillet. The pan should be hot enough that it should make a sound when you add the taro root to it. This is essential to help create the crust (esp. when you aren't adding lots of oil). Spread it well in a single layer and let it sit for about 5-6 minutes without moving it.
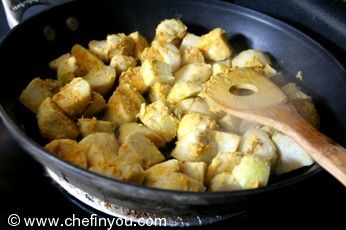
12.
Check to see one if its roasted enough (to your satisfaction)
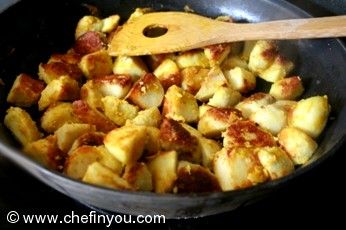
13.
If yes, turn it around for the other side to roast as well. The amount of roasting will depend on how much crispy your family likes.
Serve it hot. I served it with steamed rice, Vendhaya Kuzhambu, Lemon Rasam, Mango Pachadi and yogurt. (Burp!)
")
Filed Under these categories
- 276 Anniversary
- 52 Curries
- 291 Dairy Free
- 46 Easy Side Dishes
- 447 Gluten Free
- 705 Kid Friendly
- 384 Nuts Free
- 371 Parties
- 100 Side dishes
- 177 Sugar Free
- 499 Vegan Recipes
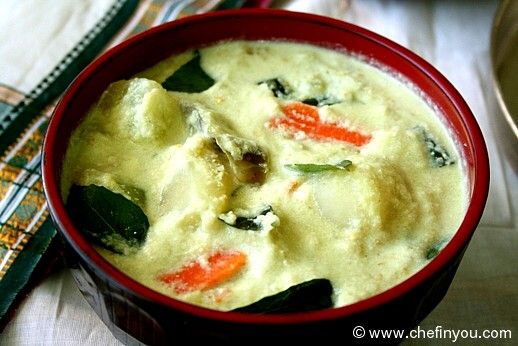
Ideal Accompaniments

6 min Mor Kulambu (OPOS©) By DK on Sep 4, 2018
Recipe Reference
my kitchen notes
Related Posts
Colocasia/Seppankilangu Roast (Low calorie) By DK on Apr 25, 2010

Roasted Pumpkin Pie with Chocolate Crust By DK on Nov 18, 2014

Tomato Basil Arugula Stuffed Crust Pizza By DK on May 12, 2010

Fried (Oca) Potato Rice By DK on Sep 10, 2012
Aviyal (Vegetable & Coconut Stew) By DK on Jun 27, 2011
6 min Mor Kulambu (OPOS©) By DK on Sep 4, 2018
Leave a Reply
I love to hear from you! I read each and every comment, and will get
back as soon as I am able to.
10 Comments
By Mystery Superfood Highlight: Taro Root on Dec 4, 2013
[...] Taro Root Roast [...]
By Spice Ur Senses on Oct 11, 2013
very nice and tasty looking fry..
By Ram on Oct 31, 2012
Thanks for the recipe . Tried it yesterday, but in the process found that the besan I had had gone bad.. So uses corn flour instead , and it came out quite crispy and tasty :)
By Nandita Pai on Jul 8, 2012
Wow, awesome presentation there! Love this dish, my mum makes it in a slightly different method without the marinate but instead adding the flavour ingredients into the stove directly. The final product looks similar to urs... love it crisp :)
By Archana on May 29, 2012
Sounds yum. As a kid I have eaten and eaten this but now I hardly make it. Thanks to the steaming tip will try it next time.
By CurryLeaf on May 20, 2012
Forgot to mention, I too do it in press. cooker the way Divya suggested without adding water. Else for certain gravies cook it stovetop.
By CurryLeaf on May 20, 2012
Yum. :-P Love the roast. I love arbi too. What you said about body hating what the palate craves is very true. We should prefer body over the tastebuds I believe though the reverse is always what we do. :)
By sag on May 19, 2012
:) You almost read my mind. My Mil prepares this extreamly delicious 'vepudu'. But as you said it takes so much oil. I was thinking of roasting in oven ,glad you did it. My mil does not add 'basan'/sengapindi. I'm also going to do this and will update you how it goes.
By Divya R on May 19, 2012
Hi... by chance I hd also made sepankilangu(Chembu in mal) fry... I read that u manage to make it mushy in pressure cooker.. wht i do is keep in above the rice vessel, in a flat plate, without water & a little salt... try it - mine comes cooked but not overly.. also i add tamarind water & uraddal/chana dal powder to make it tangy as well as crispy.. my hubby who dint like chembu first, now competes with my lil son for the tangy, crispy chembu fry...
Thanks for the tip Divya. Will def. try it the next time :)
By How I grow Taro tubers - Green Eating And LivingGreen Eating And Living on Jan 13, 2015