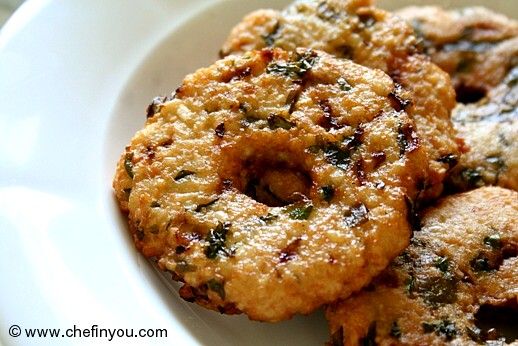
Chegodilu (Fried Rice Flour Rings) by DK on Dec 15, 2009
 recipe")
 recipe")
- Cook time:
- Prep time:
- Yields: Makes around 60-70 depending on the size and thickness
- 1 cup Rice Flour
- 1 cup Water
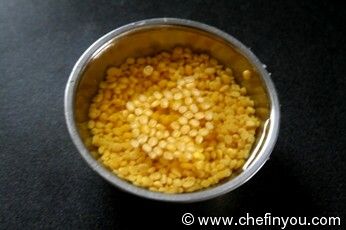
- 1-1/2 to 2 tbsp Split Yellow Moong dal / Pesara pappu / Mung Dal / Pasiparuppu
- 1 tsp Cumin Seeds
- 1 tsp - Sesame Seeds
- 1 tsp Chili powder
- 1 tbsp Ghee or oil
- Salt to taste
- Oil for deep frying
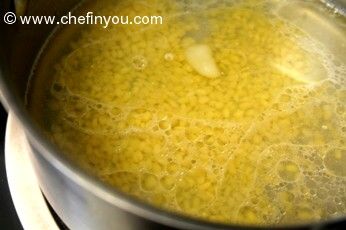
Soak moong dal in water for half hour to 1 hour.
My Notes :
I used 2 tbsp and personally found it to be too much. I just wanted my Chekodis (or Ring Murukku ) to have hints or should I say sprinkling of yellow lentils. Using 2 tbsp was bit too much for that purpose. Next time I will use only 1 tbsp.

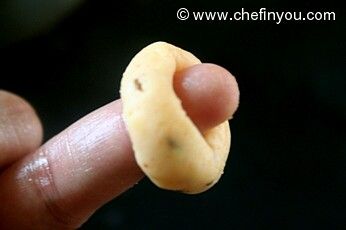
Heat a pan with oil, enough to fry 3 -4 at time, if you conscious of not using too much oil. Simmer once it gets hot. The temperature should not be smoking hot. Grease your fingers with oil and pinch out a small lemon size ball and roll between your palms to form a thick rope.
My Notes :
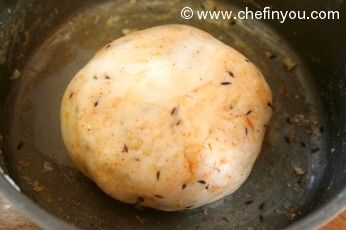
This is were I faced my first challenge. My ropes were pretty fragile (not falling apart as such) but the ends broke quite easily. I realized it could be because I was using Store bought Rice flour instead of the traditional way of grinding them at home! sigh!. I dunno the science behind this tip, but I simply added few tsps of the hot oil (which I was going to use for frying) to my dough and kneaded them some more. After that, I did not face an issue.

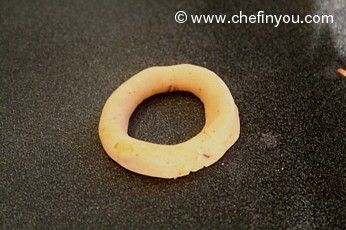
Bring the two ends to together and press to form a rope. Ensure the ends are firmly pressed as not to give out during frying.
My Notes:
The size and shape of these do not really matter that much. I remember the ones that I have enjoyed had very small holes in the middle. Hence chose to make half of the dough that way.
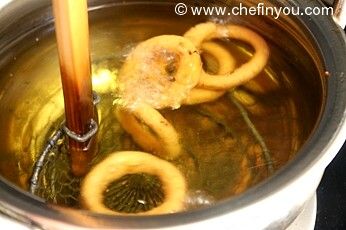
My Notes: But I saw from Google Images that many pictures depicted a bigger and a thinner round for Chekodi. Hence felt that may be they were traditionally made that way in Andhra - So made the other half of the dough aping the real version. Just roll out a thinner and longer rope and bring the ends together to make a bigger ring murukkus.

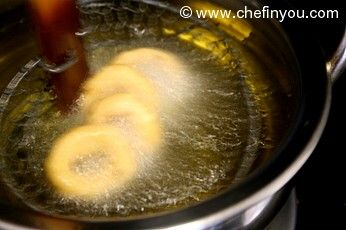
and cook till you get a golden colour on the chakodis.
My Notes:
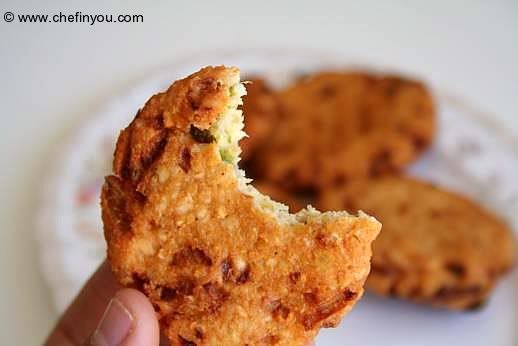
If you notice from this picture below, the surface of my chekodi don't look that smooth. They were very crunchy yes and tastewise perfect. But as far as the looks department go, they did not have a smooth surface. I think this could be because of the store bought rice flour. But after I followed the tip I provided before - that is kneaded the dough for few more minutes with hot oil, it became smooth
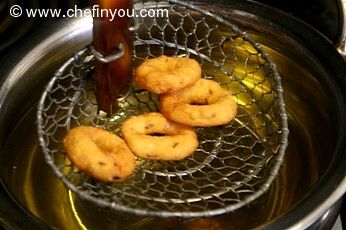

 recipe") Notes: Remember to turn the heat to medium to high and high to medium for getting the chakodis to golden colour and also to be cooked evenly. Only this way you get crispy chakodis. These should not be cooked on low flame as they will absorb more oil and can turn soggy also at times.
Variation: Instead of Cumin and Sesame seeds, 1 tsp of Ajwain (Oregano) or Omam can be used along with chili powder.
Notes: Remember to turn the heat to medium to high and high to medium for getting the chakodis to golden colour and also to be cooked evenly. Only this way you get crispy chakodis. These should not be cooked on low flame as they will absorb more oil and can turn soggy also at times.
Variation: Instead of Cumin and Sesame seeds, 1 tsp of Ajwain (Oregano) or Omam can be used along with chili powder.
 recipe")
Filed Under these categories
- 287 Course
- 366 Cuisine
- 99 Dasara
- 228 Diwali
- 13 Diwali Savory Snacks
- 43 Events
- 447 Gluten Free
- 9 Indian Cooking Challenge
- 180 Indian Recipes
- 55 Indian Snacks
- 705 Kid Friendly
- 116 Krishna Jayanthi (Gokulashtami)
- 94 Occasions
- 292 Snacks
- 499 Vegan Recipes
Related Posts

Cabbage Ulundu Vadai (Cabbage Dal Fritters) By DK on May 22, 2013

Paruppu Vadai (Karthigai Vadai) By DK on Nov 12, 2013

Milagu Vadai (Peppercorn fritters) By DK on Mar 29, 2010
Keerai Vadai (Spinach Lentil Fritters) By DK on Dec 4, 2011
Masala Vadai By DK on Jun 1, 2009
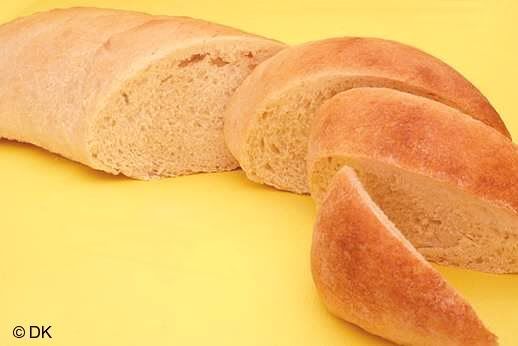
French Bread By DK on Jan 13, 2009
Leave a Reply
4 Member Reviews
By Savitha on Sep 13, 2012
Well my mom Used to prepare these whenever Possible!!! But now it's my turn to Treat her with Something easy and Simple.... I Thank you very much for this wonderful Recipes and with such A Step By Step Demo Photos!!!!
It was Truely Amazing and Easy-Fast-Simple-TASTY too. everyone Must Try this..
Thank you DK...
Regards
SaKG

By Ranjana on Nov 25, 2010
Thanks again DK...These turned out to be perfect. Somehow I couldn't form perfect rings and I didn't have the patience to make so many rings...so I made them as "Fried Rice Flour Fingers"!
28 Comments
By jhansi on Jan 17, 2014
I apologise. In fact I do reply to many queries. I might miss some given I get loads of queries each day and not just on one post. --DK
By Lalitha on Sep 28, 2013
By rajeswari on Sep 12, 2013
By Geetha on Aug 10, 2012
By Paramita Brahmachari on Aug 7, 2012
Thank you so much Paramita. I am so glad to hear that. Do share your album in chefinyou facebook page. Wud luv to see ur photos there :) --DK
By lata on Feb 12, 2012
By Suganya on Jan 19, 2012
By Rama Ananth on Oct 24, 2011
By Krithika on Mar 17, 2011
By Rashmi on Mar 8, 2011
By Vijaya on Oct 31, 2010
They make the powder by soaking, drying and then powdering it. I mostly use store bought and it works fine for me
By pragya on Jul 18, 2010
By Vidya on Feb 19, 2010
I dont think the sogginess could have been due to moong dal per se. 1-1/2 tbsp should have been good ! I think it could be due to the water and rice flour. Sometimes the quality of the flour differs from place to place. Probably it got a little more for you..Home made rice flour works best for this recipe --DK
By Carsten on Jan 26, 2010
By damaris on Jan 21, 2010
By Shreya on Dec 19, 2009
By Srivalli on Dec 16, 2009
They tasted almost the same - I think this is it Valli! Yehhh!!! :-D -- DK
By Alka on Dec 15, 2009
And look who is talking about tempting ppl!!! Everyone take a gander at her site and tell me if she is share the blame for being a 'tempt'ress! (if thats even a word!!!!) ;) -- DK
By Preeti on Dec 15, 2009
By Medhaa on Dec 15, 2009
Thanks Medhaa :) I used the small element - My vessel was not that big! I usually use the large elements when I use my skillets which are quite larger than my large element.... --DK
By Kavi on Nov 26, 2016